
Calling the Globalization Pipeline Service from Node Red on IBM Bluemix
Calling the Globalization Pipeline Service from Node Red on IBM Bluemix
In this post I will show you how to quickly globalize an API in Node Red that needs to return messages in more than one language. This is really easy to do when you use the Globalization Pipeline Service on IBM Bluemix.
In our example we are going to create an API that returns a message that indicates the current status of a connected device. To make this easy we will just have some code randomly select whether the device is connected or disconnected. The API will then return a message that says “The device is connected” or “The device is not connected” depending upon the current status of the device. If you would like to see the URL in action you can click on this link for the message in English or this link for French. The URL format that we will use will be http://atkinred.mybluemix.net/device/status?lang={ISO language code}.
To get started, go ahead and bind an instance of the Globalization Pipeline service to your Node Red application and be sure to copy off the service instance id and URL for the Globalization Pipeline service from the VCAP environment variable. We will use these values later when we call the Globalization Pipeline service API.
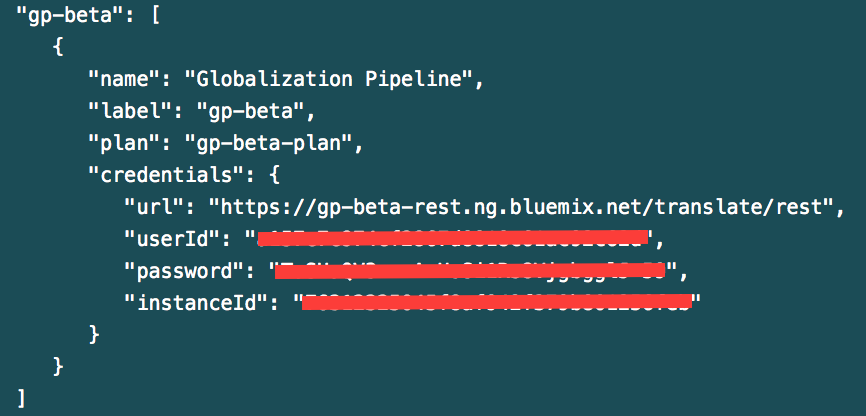
Globalization Pipeline Service Instance ID
The first thing that we need to do is to create a message file that contains our two messages. We will create the messages using a simple JSON syntax. Here is a screenshot that contains the two messages in a file I created called messages.json.

JSON Message File
Now that we have our messages.json file created we will need to upload it to the Globalization Pipeline service by using the service’s dashboard. To upload the file all you need to do is the following:

Uploading Messages
To verify that you uploaded the file correctly and that the contents were translated check the status of the messages bundle. Your screen should look something like this.
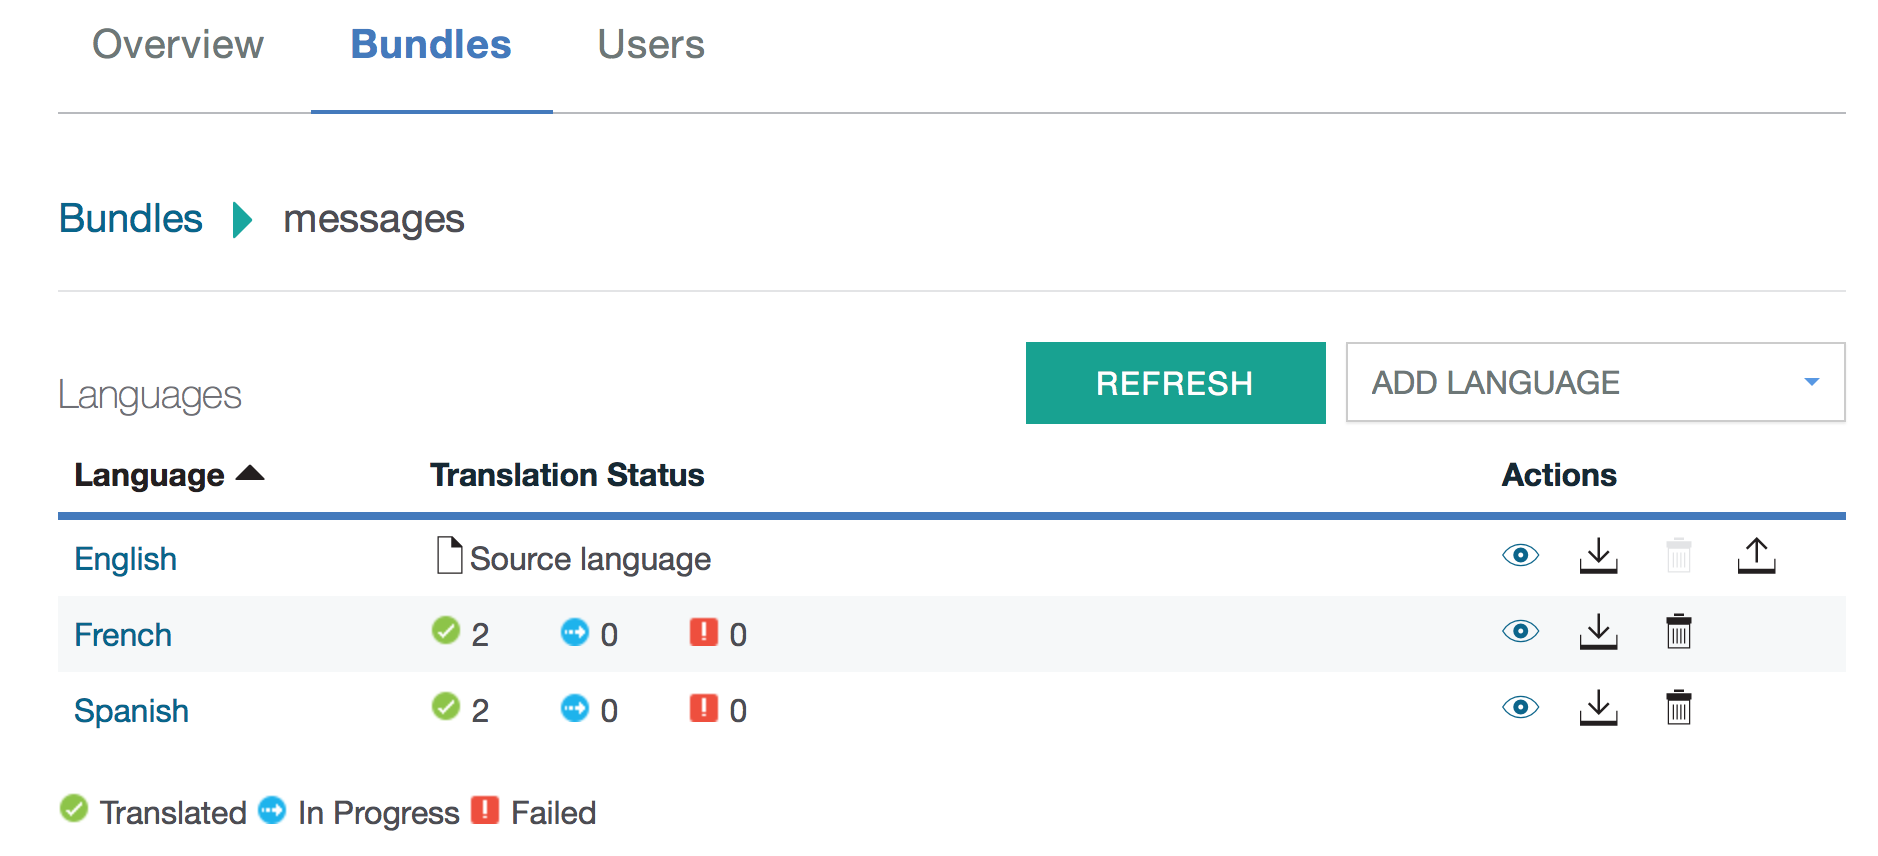
Messages Bundle Status
Now that we have our messages translated we need to enable access to this bundle in the Globalization Pipeline service dashboard. The Globalization Pipeline allows you to create a special read-only API key that you can safely use from client applications. With this special API key you are able to download the translated messages, but are unable to delete or change the messages. To create the read-only API key yo u need to do the following:
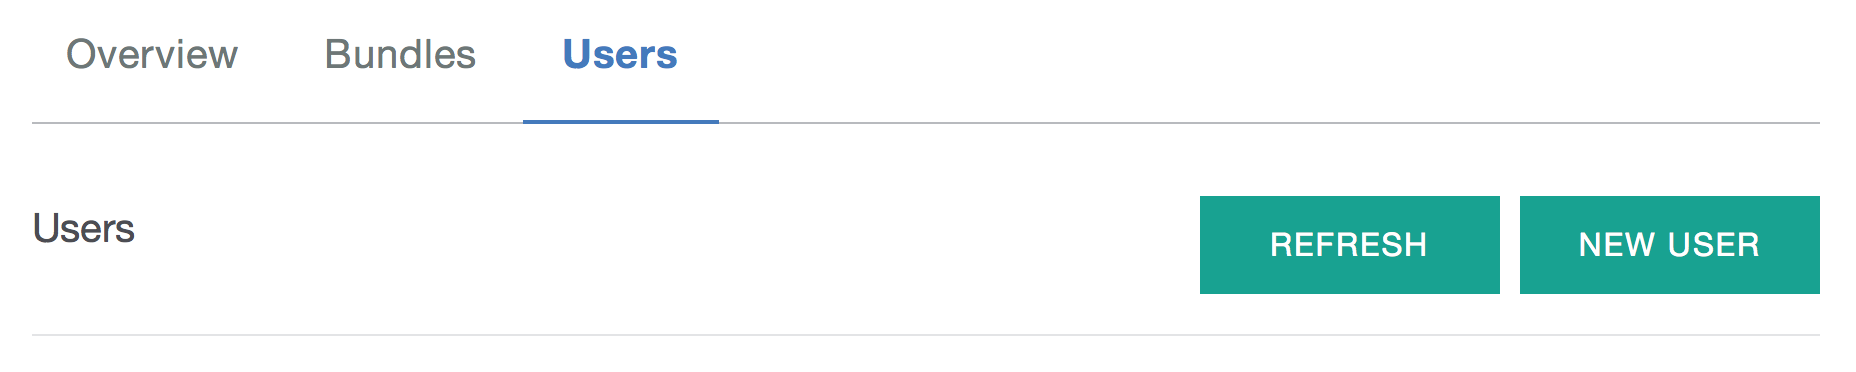
Globalization Pipeline Users
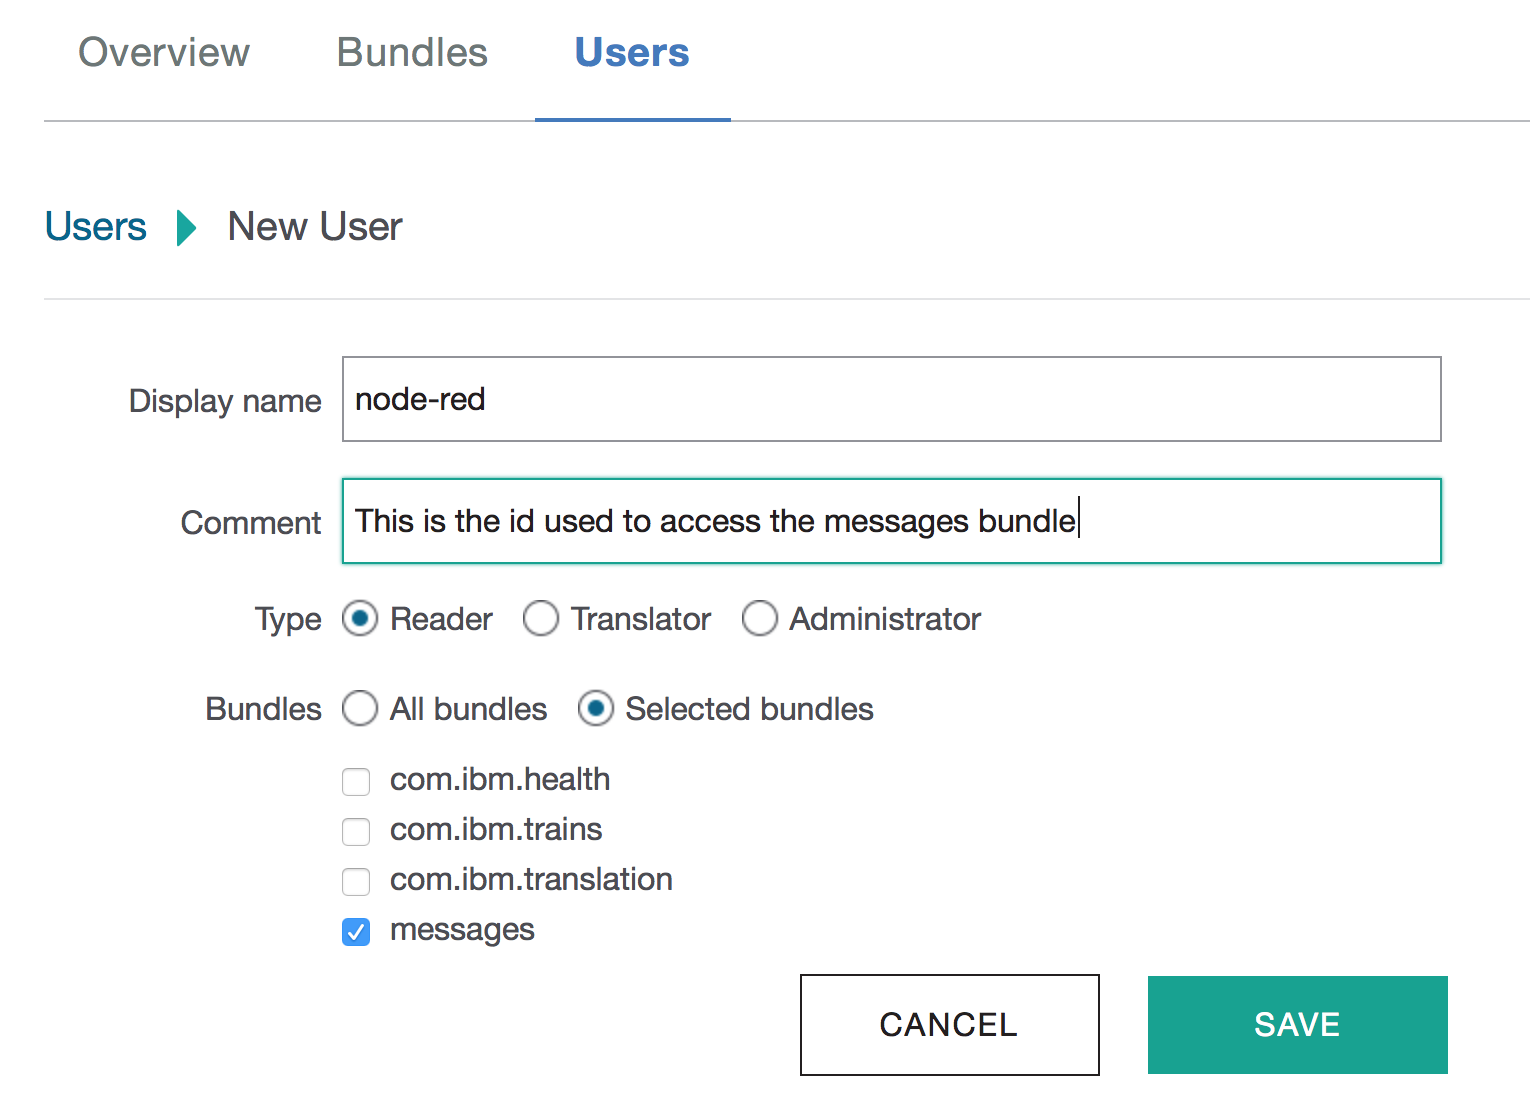
Creating New Globalization Pipeline User

Reader Credentials
Now that we have our credentials established we can call the RESTful Globalization Pipeline API from our Node Red application. To retrieve the messages from the Globalization Pipeline service we will use the GET bundle by language ID API. Here is a link to the API documentation.
To wire this all together we will create a Node Red flow that accepts an HTTP GET request to obtain the status and returns the appropriate language response via an HTTP Response. Here are the steps to create the Node Red flow:
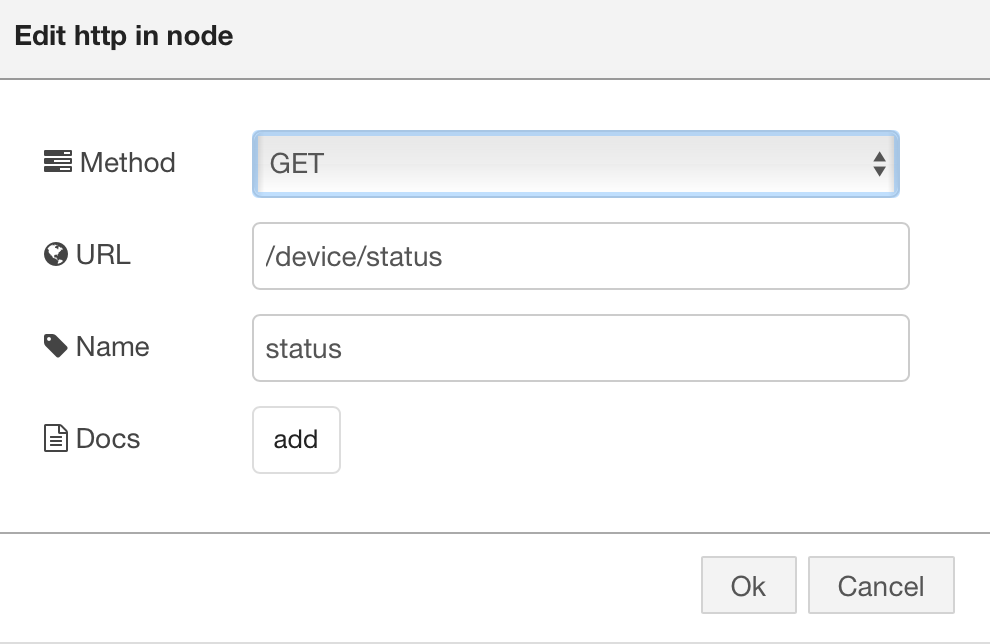
HTTP In Status Node
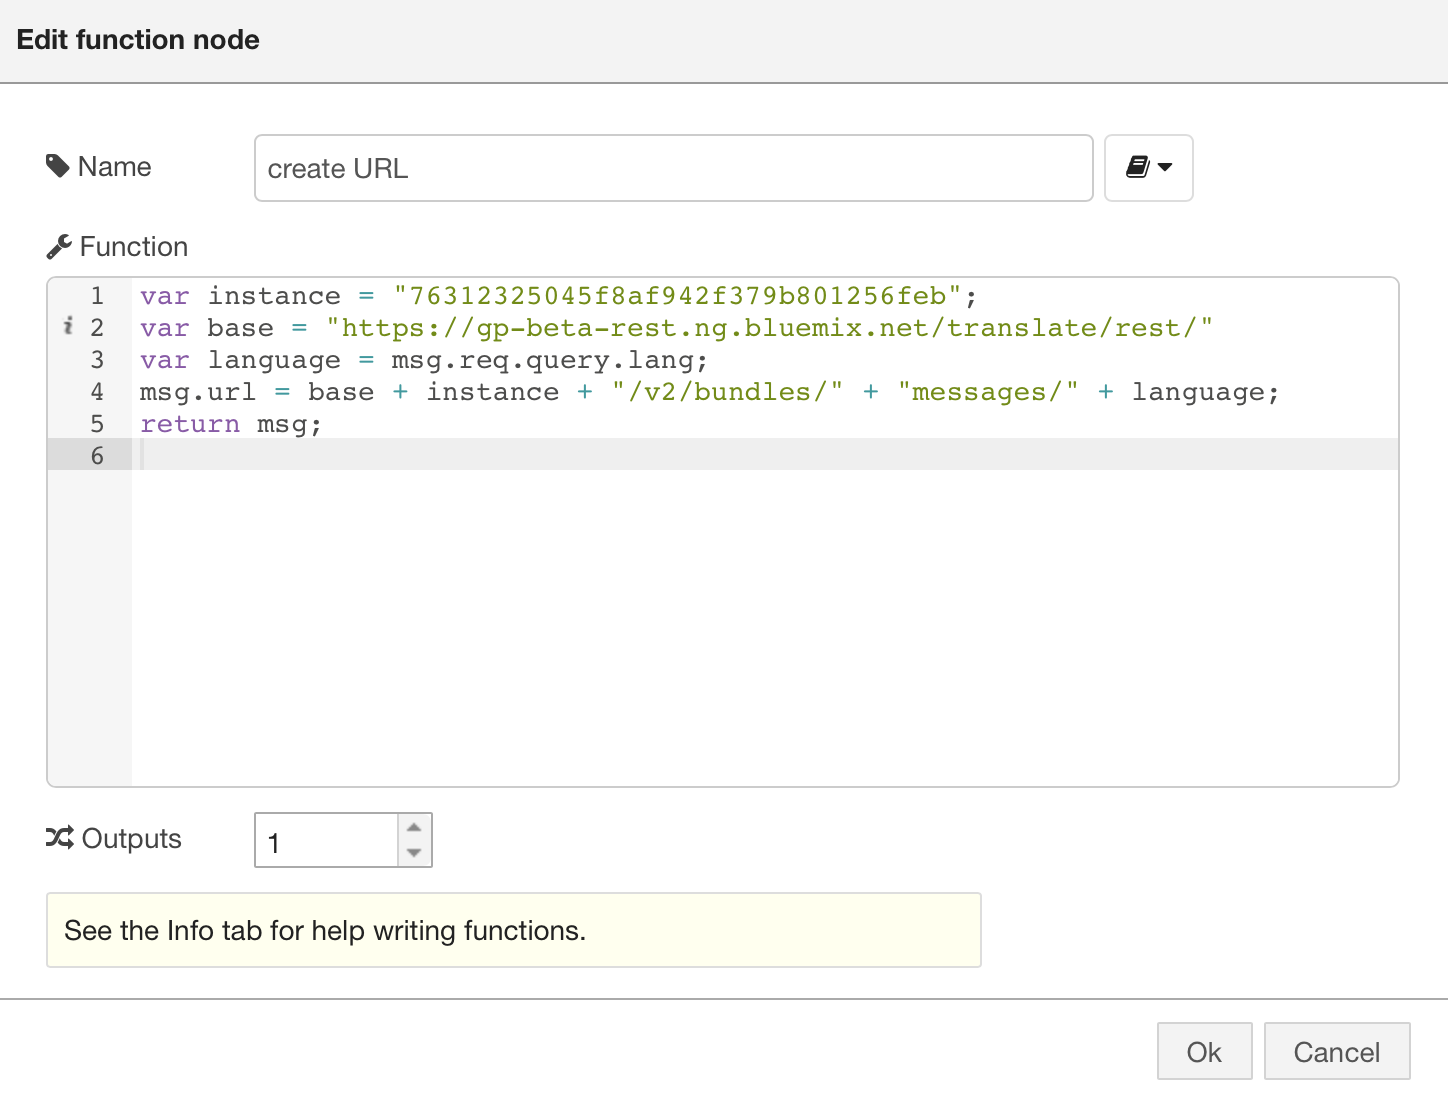
Create URL Function Node
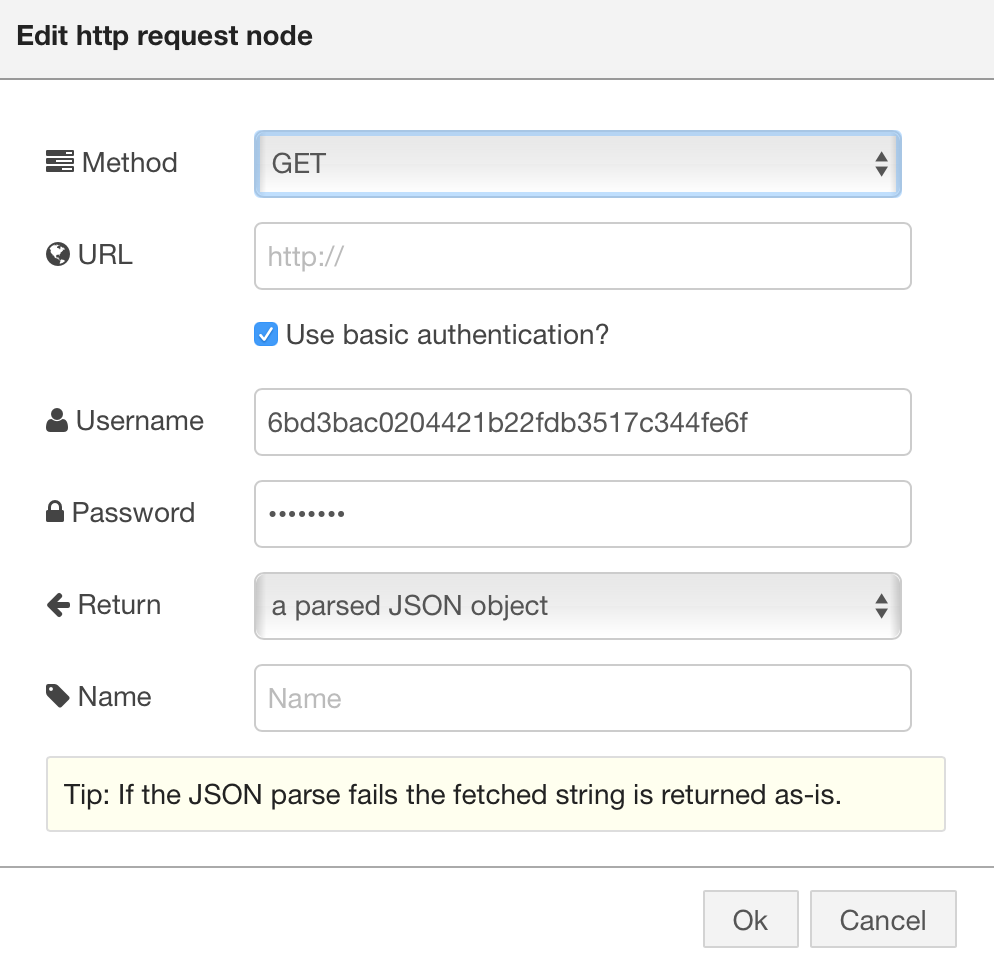
HTTP Request Node
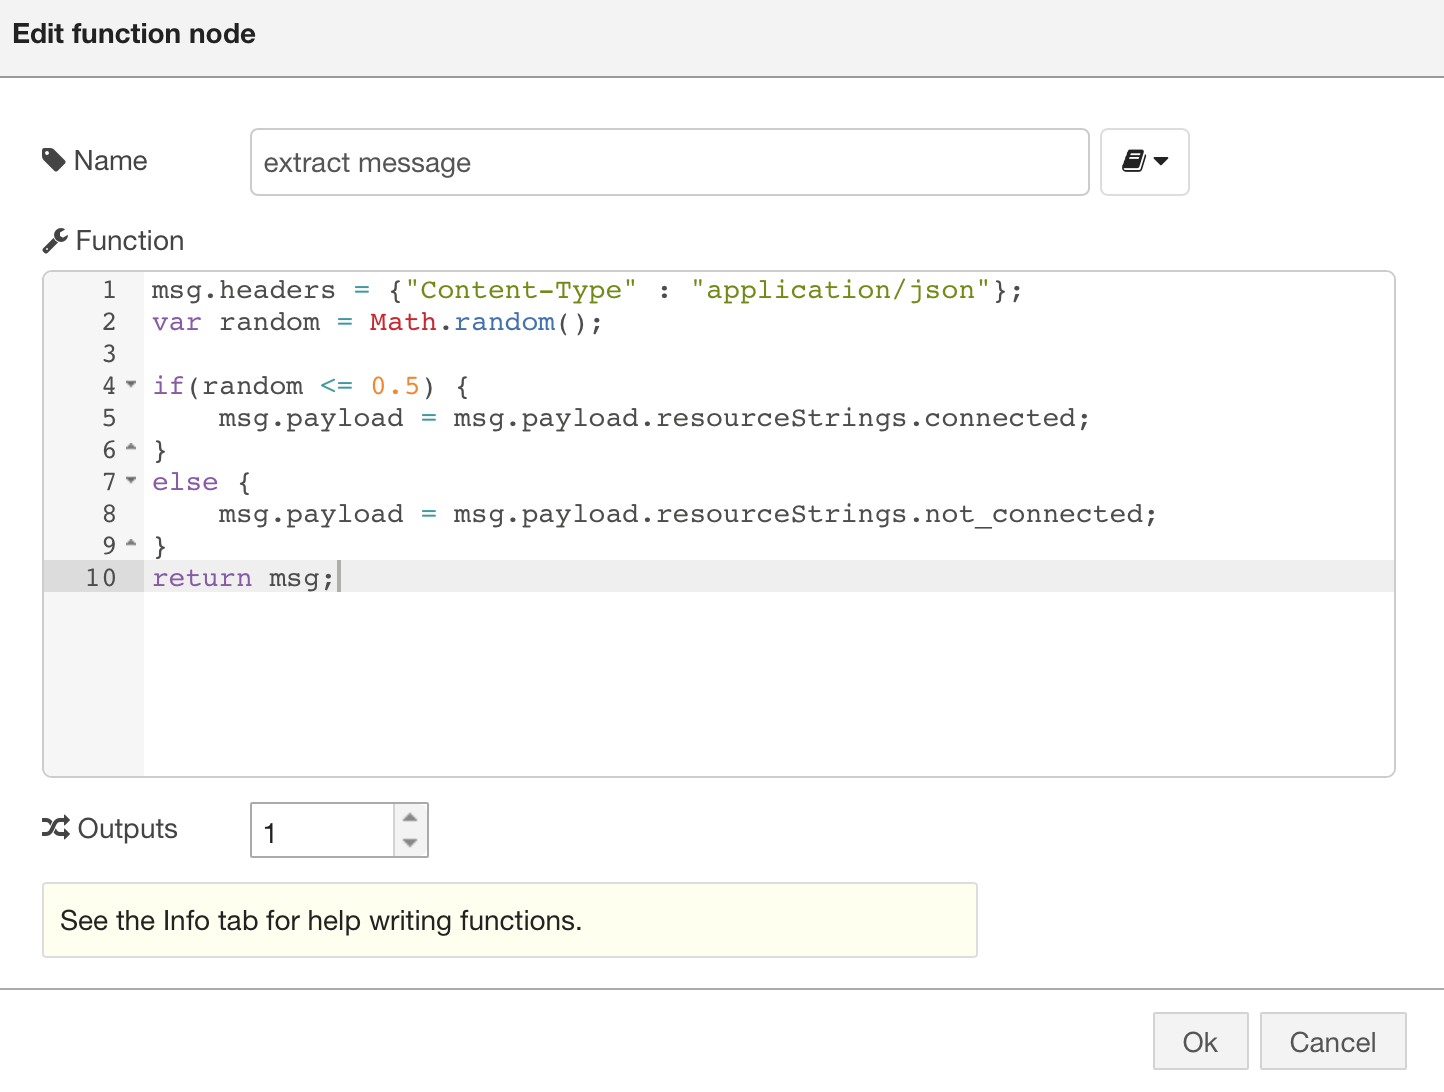
Extract Message
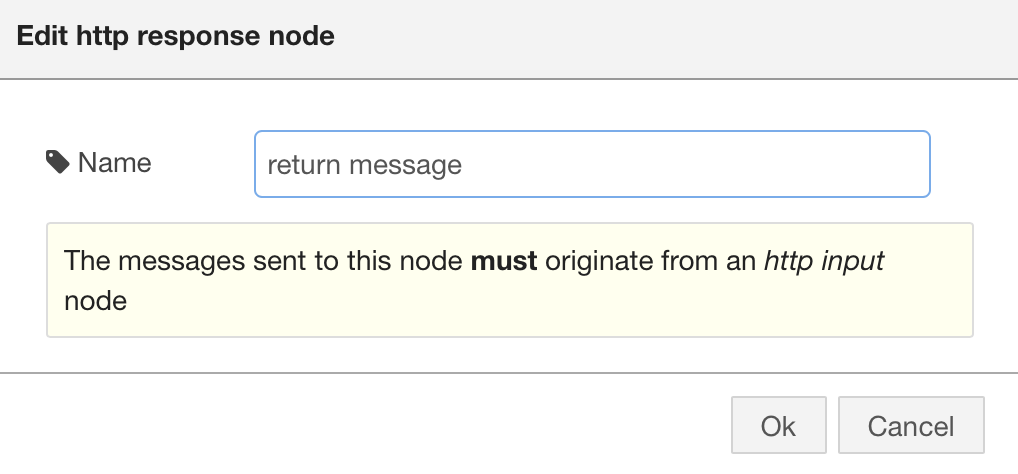
HTTP Response Node

Wired Node Red Flow
Now you have an API that will return an error message in the language of your choice. I hope this post helps you get going with creating globalized APIs in Node Red with the Globalization Pipeline service.

Hi, guest!


[…] some of the issues you might encounter when trying to output Unicode from OpenWhisk actions. In a previous post I showed how to call the Globalization Pipeline service from Node Red and in this post I will show […]